
In the world of website management, handling plugin updates can often feel like navigating a minefield. Many teams delay updates due to past issues, leading to security vulnerabilities and broken features. Fear not! In this post, I’ll break down a systematic approach to plugin updates that minimizes panic and maximizes efficiency, ensuring your website remains secure and functional.
The Problem with Plugin Updates
Updating plugins can often seem like a daunting task. Past experiences may have left your team hesitant, especially if previous updates resulted in broken features or plugin conflicts. Here’s the reality: avoiding updates creates more problems than it solves. As updates pile up, security patches remain uninstalled, increasing the risk of vulnerabilities. It’s time to transform how you approach plugin updates.
Step 1: Create Risk Tiers
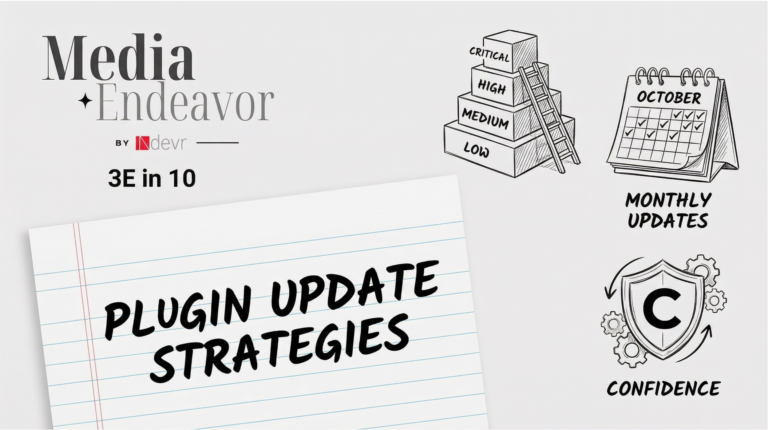
Not all updates carry the same level of risk. By categorizing updates into three tiers:
- Tier 1 (Low Risk): Minor version updates, security patches, and bug fixes for non-critical plugins. These can be batched together and tested lightly before deployment.
- Tier 2 (Medium Risk): Minor version updates to critical plugins and feature additions. These require focused testing to verify key workflows and check for conflicts.
- Tier 3 (High Risk): Major version upgrades and critical integrations. These updates necessitate full regression testing and a rollback plan in case issues arise.
Documenting which plugins fall into these tiers ensures visibility and helps your team prioritize updates effectively.
Step 2: Schedule Monthly Updates
Regularity is key to reducing anxiety around updates. Set a recurring monthly update window—this could be the first Tuesday or third Thursday of every month. During this window, review available updates and apply Tier 1 updates immediately. Schedule Tier 2 and Tier 3 updates based on priority. This approach transforms updates from unpredictable fire drills into routine maintenance.
Step 3: Follow a Test Plan
Each risk tier requires a different testing approach:
- Tier 1: Update and staging, followed by smoke testing critical pages. Deployment should be swift, taking about 15 minutes.
- Tier 2: Update and staging with end-to-end testing of affected workflows. This process may take around 60 minutes.
- Tier 3: Implement full regression tests on critical user journeys and verify integrations. This thorough testing may take several hours.
Creating checklists for these testing plans ensures consistency and accountability in your update process.
Step 4: Document Everything
Maintaining a detailed change log for every update is essential. Record what was done, when, and by whom. Note any issues encountered and how long testing took. This documentation helps you identify patterns and makes rollback processes easier if something goes wrong.
Step 5: Plan a Rollback
Even with thorough testing, updates can fail. Before every Tier 2 or Tier 3 update, confirm your rollback plan. Ensure you can quickly revert to the previous version if necessary, and test this process in staging first. A well-practiced rollback plan helps turn panic into procedure.
Conclusion
By implementing a structured approach to plugin updates, you can significantly reduce the stress associated with them. Create risk tiers, schedule regular updates, follow a testing plan, document your processes, and always have a rollback strategy in place. This proactive approach will lead to smoother updates, improved team confidence, and a more resilient website.
Frequently Asked Questions
H3: Why should I categorize plugin updates?
Categorizing updates into risk tiers helps prioritize and manage updates more effectively, reducing potential issues during the update process.
H3: How often should I update my plugins?
Setting a monthly update schedule helps prevent updates from piling up and maintains website security and functionality.
H3: What if an update breaks my site?
Having a rollback plan and thorough testing procedures in place ensures that you can quickly revert to a previous version if needed.